How to Create a WordPress Website in 2026: Full Tutorial
Direct answer To create a self-hosted WordPress website, you need a domain, hosting that meets WordPress requirements, a current WordPress installation, a theme, core pages, navigation, only the plugins you actually need, and a launch check. This guide is verified against official WordPress documentation as of August 4, 2026. It does not claim a HostChoices live-account walkthrough, so host-specific installer screens may look different.
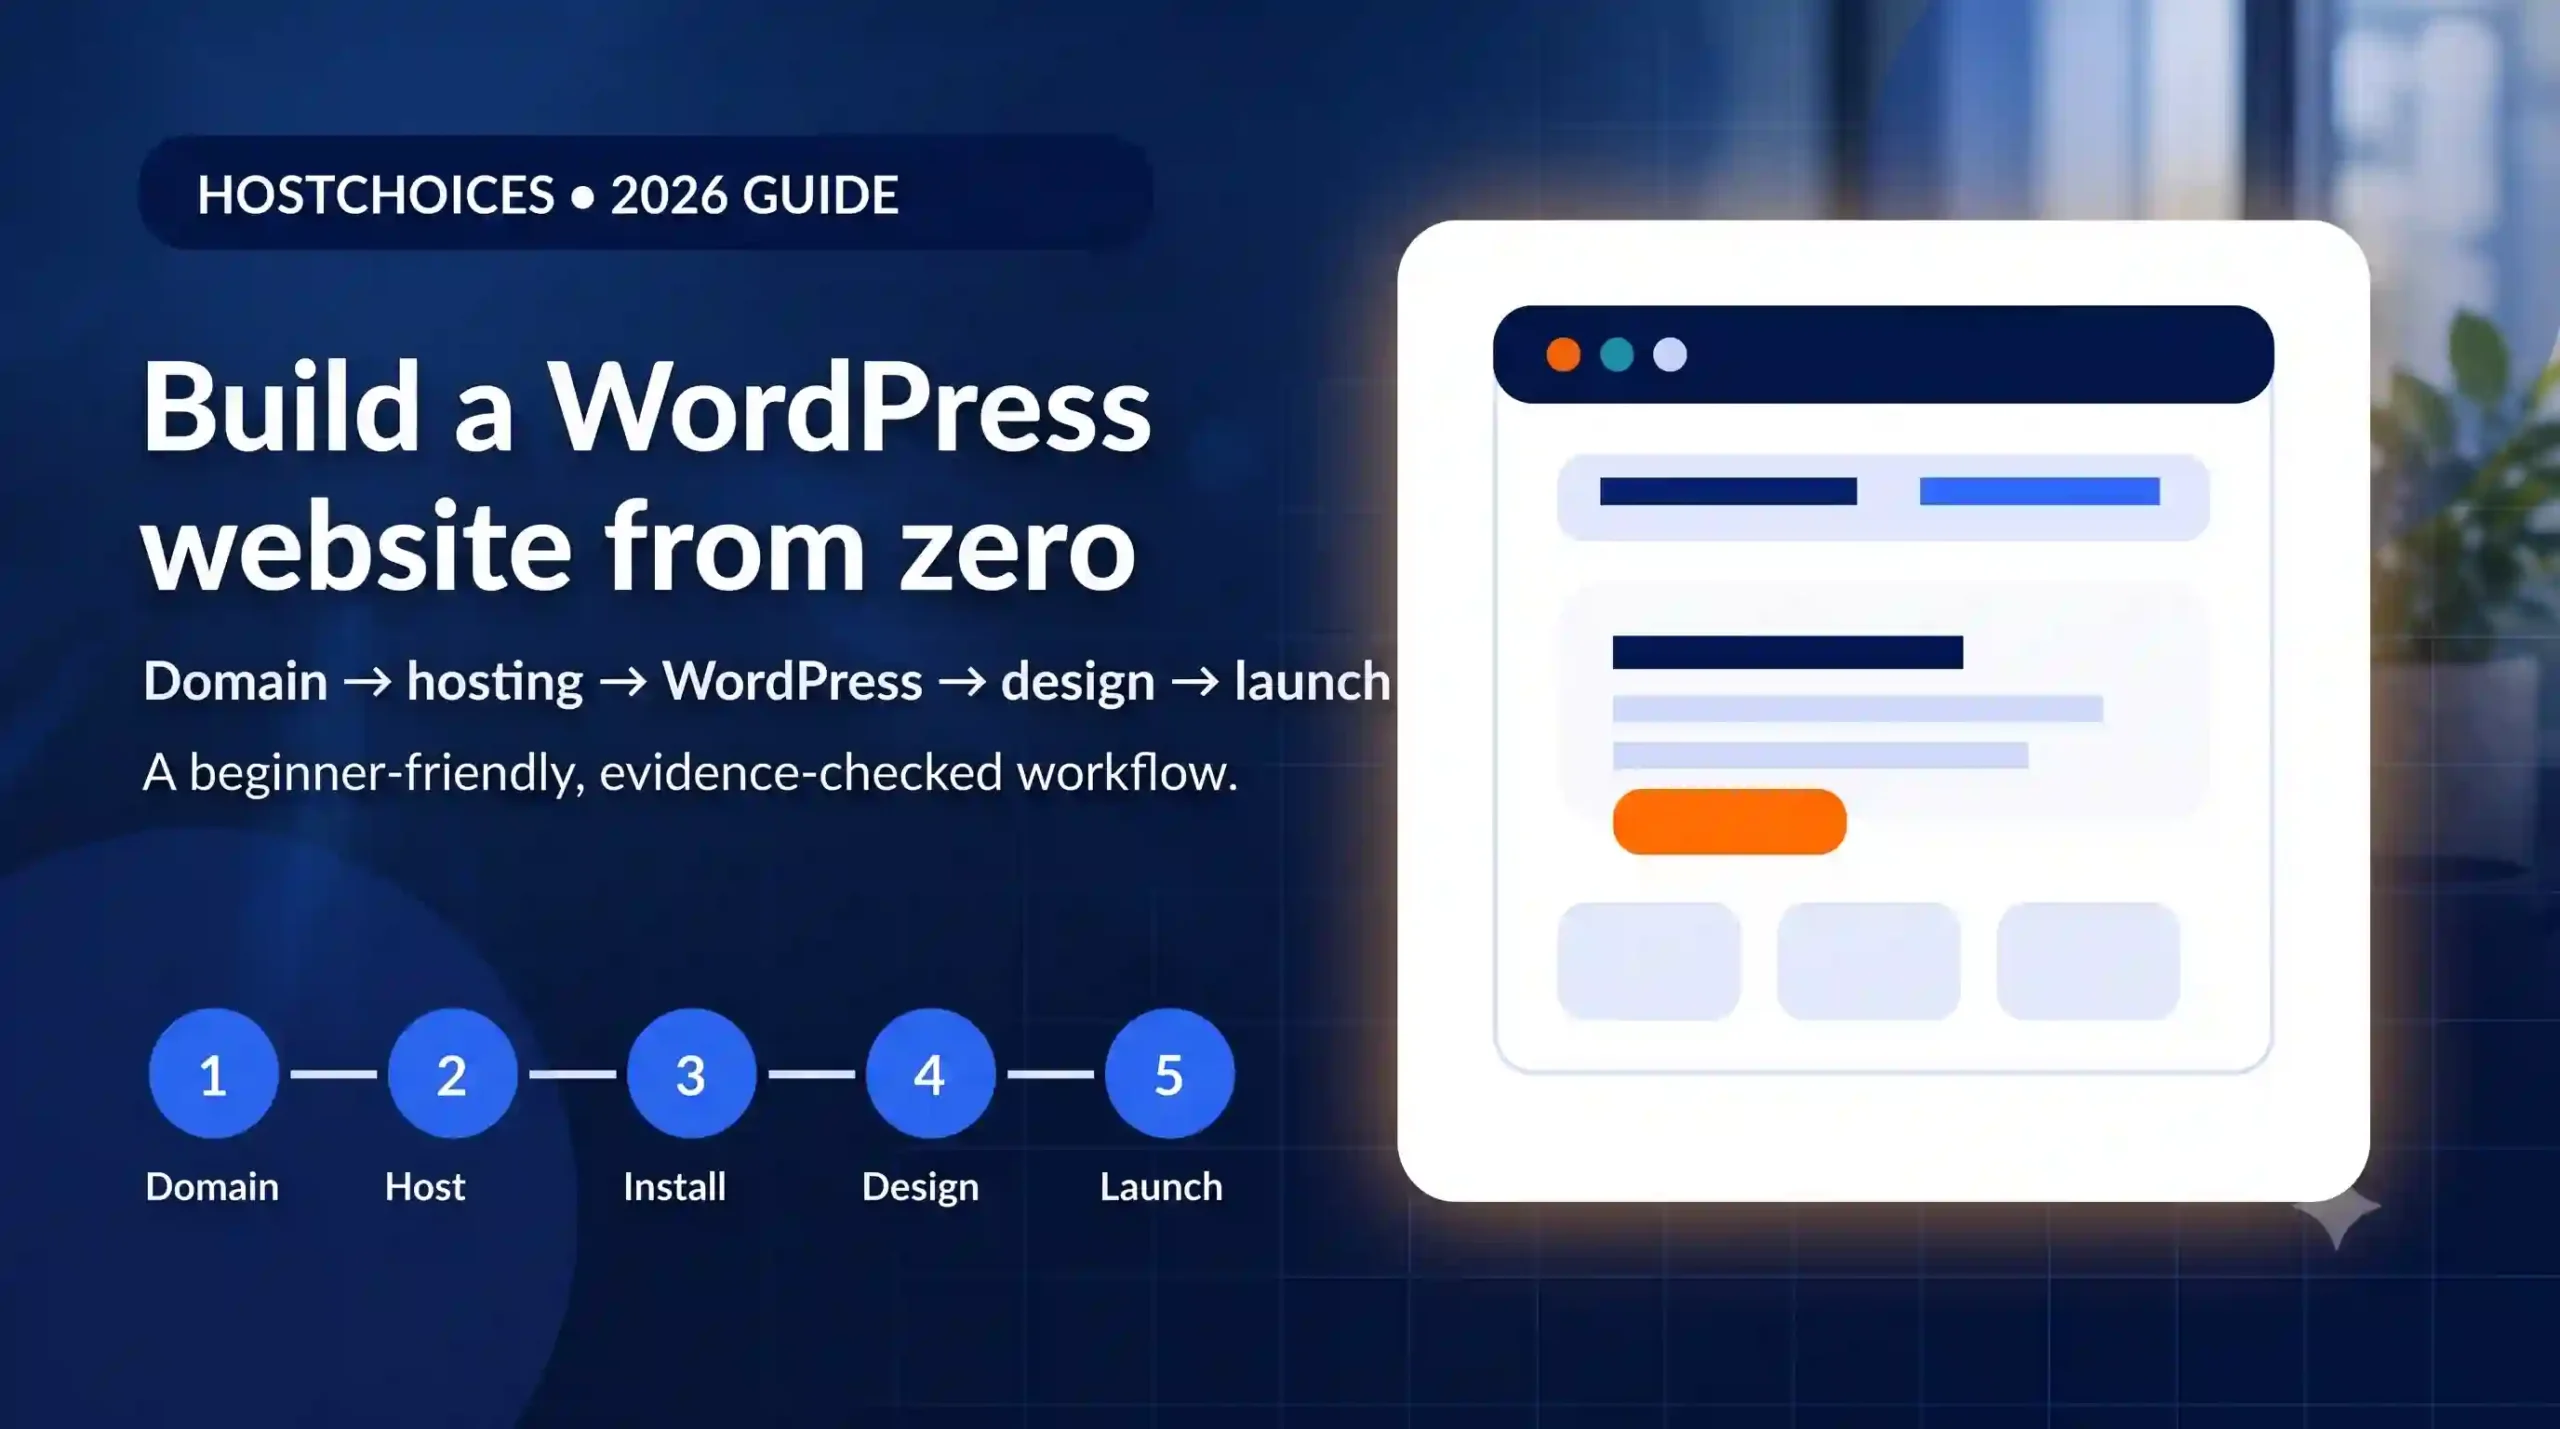
If you searched for how to create a WordPress website, this is the practical sequence: set up the technical foundation first, make the site understandable second, and add optional features last. That order makes troubleshooting much easier than installing a large theme-and-plugin stack before you know the base site works.
| Tutorial environment | |
| Platform | Self-hosted WordPress.org |
| Current stable baseline | WordPress 7.0.2, checked August 4, 2026 |
| Difficulty | Beginner |
| Estimated hands-on time | About 1–3 hours for a basic site, excluding content writing and DNS propagation |
| Recommended server baseline | PHP 8.3+, MariaDB 10.11+ or MySQL 8.0+, HTTPS |
| Rollback rule | Take a verified backup before updates, plugin changes, theme changes, or migration |
Before you start: choose the right WordPress route
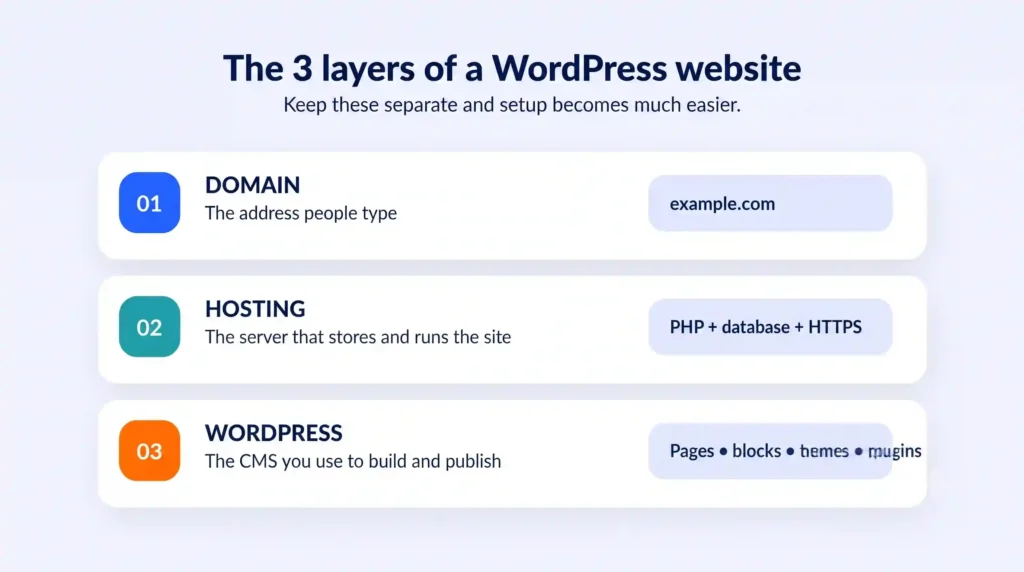
This tutorial uses the self-hosted WordPress.org route. WordPress.com and WordPress.org are different deployment models: WordPress.com bundles managed hosting, while WordPress.org software is typically installed on third-party hosting. If your goal is maximum control over hosting, themes, plugins, and migration, the self-hosted route is the one covered below.
What you need
- A domain name you control.
- A hosting account that supports the current WordPress requirements.
- Access to the hosting dashboard and DNS/domain settings.
- An administrator email address you can receive messages at.
- Your draft site structure: at minimum Home, About, Contact, and Privacy; add Blog, Services, Portfolio, Store, or other pages only when your site needs them.
- A backup or restore point before major changes once the site is running.
As of the checked date, WordPress officially recommends PHP 8.3 or greater, MariaDB 10.11 or greater or MySQL 8.0 or greater, plus HTTPS support. A host can exceed those recommendations; the important part is that the plan does not lock you into an obsolete runtime.
A simple rule before buying hosting
Do not choose a plan only because the introductory price looks cheap. For a first website, prioritize current PHP/database support, SSL/HTTPS, backups or an easy backup path, a supported WordPress installer, enough storage for your content, and a clear upgrade path.
If you are still choosing a plan, use HostChoices’ hosting recommender to match the hosting type to your project. You can also compare best web hosting providers when you need a broader shortlist.
Step 1: Define the site goal, domain, and minimum page structure
Write one sentence describing what the site must help a visitor do. Examples: book a consultation, read tutorials, request a quote, view a portfolio, or buy a product. Then choose a domain that is easy to spell, avoids unnecessary punctuation, and still makes sense if your offer expands.
Create only the pages required for that first goal. A small, complete site is easier to launch and maintain than a large site full of empty pages.
Expected result You have a domain, a one-sentence site purpose, and a list of the pages needed for the first publishable version.
Step 2: Choose hosting that meets the current WordPress requirements
Before checkout, verify the actual plan and server support rather than relying on a generic “WordPress hosting” label. The host should support the current recommended PHP/database versions and HTTPS. If the host exposes PHP version selection, use a currently supported version compatible with your theme and plugins.
Useful checks before you commit:
- WordPress can be installed on the exact plan you are buying.
- HTTPS/SSL is available and can be enabled for your domain.
- The dashboard lets you create or restore a backup, or the host documents a reliable backup method.
- You can access DNS or have clear instructions for connecting a third-party domain.
- The plan’s storage, site-count, database, traffic, and email limits match your actual use case.
Expected result The domain points to a hosting account that is ready for WordPress and HTTPS.
Step 3: Install the current stable WordPress release
The current stable version checked for this tutorial is WordPress 7.0.2, released July 17, 2026 as a security release. WordPress 7.1 beta builds are development/test releases, not the production baseline for this guide. Use your host’s maintained WordPress installer when available; host installer menus vary, so follow the provider’s current interface rather than copying an outdated screenshot.
If you need the manual route, the official WordPress installation flow is:
- Download and unzip WordPress.
- Create a database and database user with the required privileges.
- Create or let WordPress create wp-config.php with the database details.
- Upload the WordPress files to the correct web root or subdirectory.
- Open the installation URL in your browser and finish the setup.
Use the official WordPress installation instructions for the current file/database procedure. Do not expose database credentials in screenshots, public tickets, or shared documents.
Verify before moving on Your domain opens the WordPress site over HTTPS and you can sign in to /wp-admin/ with the administrator account.
Step 4: Update first, then create a rollback point
A fresh installer can still lag behind the newest maintenance or security release. In Dashboard > Updates, check WordPress core, themes, translations, and plugins. Remove unused default plugins you do not intend to use, but keep at least one working theme available as a fallback.
WordPress’ own update guidance recommends staying current, and you should back up before an upgrade. For a new site, this is the right moment to create the first known-good restore point—after the base installation works, before customization becomes complicated.
Rollback checkpoint Confirm that you know where the backup is stored and how to restore it. A backup you have never located or restored is not a useful rollback plan.
Step 5: Configure General Settings
Open Settings > General. Set the site title, tagline if you want one, administrator email, site language, timezone, and date/time formats. Use a timezone that matches the business or publishing location so scheduled posts and logs are easier to interpret.
The official General Settings documentation explains these fields. Be cautious with WordPress Address (URL) and Site Address (URL): changing them without a migration plan can make the site appear broken or redirect to the wrong location.
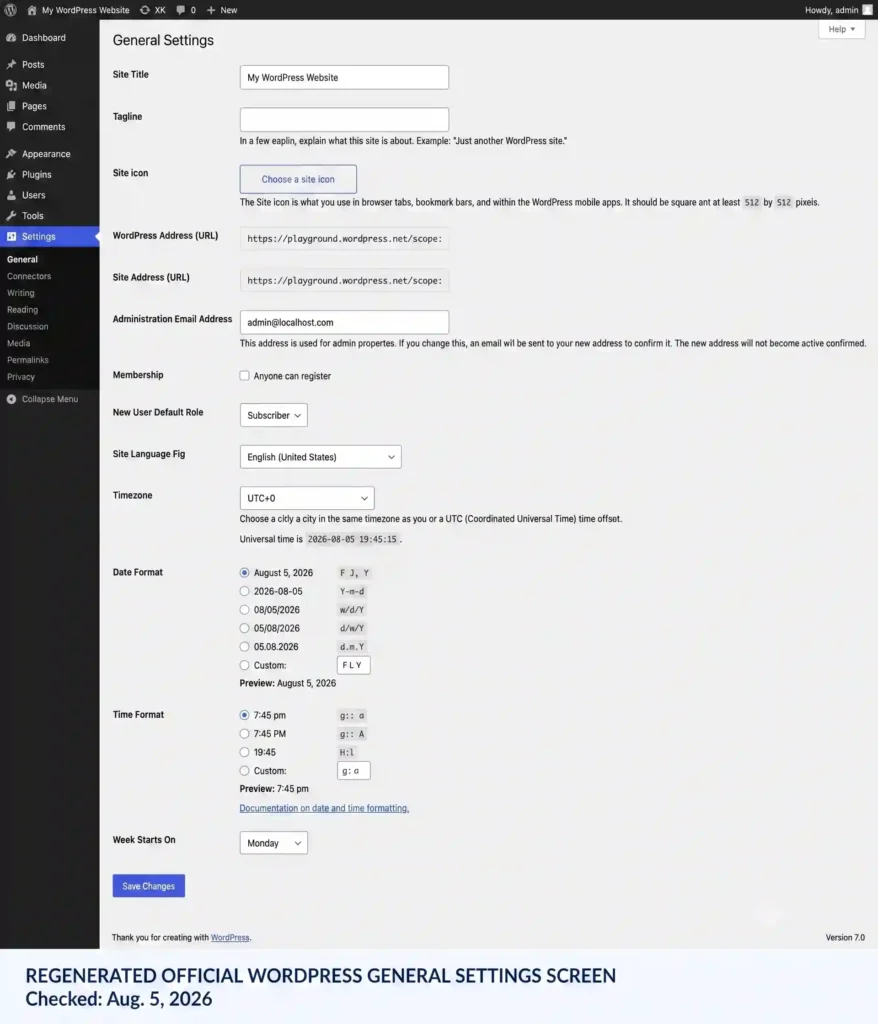
Expected result The dashboard and public site use the correct title, admin email, language, timezone, and HTTPS URL.
Step 6: Set the homepage, reading behavior, and permalink structure
Create placeholder Home and Blog pages first if you want a static homepage. Then open Settings > Reading and choose the appropriate homepage behavior. A brochure, service, portfolio, or business site normally uses a static Home page; a publication can use the latest posts as the homepage.
In Reading Settings, WordPress also provides “Search Engine Visibility.” This setting is a request to search engines—not a password or privacy control. During development you may discourage indexing, but before launch you should recheck that you did not leave the site unintentionally discouraged.
Next, open Settings > Permalinks. For many normal content sites, the readable Post name structure is a straightforward option. If you are migrating an existing site, do not change permalink structure casually because old URLs can break without redirects.
After any permalink change, click Save Changes and test a real page. See the official Permalinks Settings reference for the available structures.
Expected result The intended homepage loads at the root domain, blog behavior is correct, and a new page or post opens with a clean working URL.
Step 7: Choose a block theme and design with the Site Editor
For a modern no-code workflow, use a block theme. Go to Appearance > Themes > Add New, select a maintained block theme, install it, and activate it. With a block theme active, Appearance > Editor opens the Site Editor, where you can work on site-wide styles, templates, headers, footers, and navigation.
The WordPress Site Editor is available with block themes. If Appearance > Editor is missing, check the active theme before assuming WordPress is broken.
Design in this order:
- 1. Global typography and colors.
- 2. Header and primary navigation.
- 3. Homepage template and key content sections.
- 4. Footer, including contact/legal links.
- 5. Individual page polish only after the global system looks consistent.
Rollback Before a major redesign, save a backup. If a new theme causes problems, switch back to the known-working theme and restore only if necessary.
Step 8: Create the core pages and useful content
Create pages from Pages > Add New. WordPress pages are intended for non-chronological content such as About or Contact, while posts are better for dated articles and blog content.
A practical starter structure is:
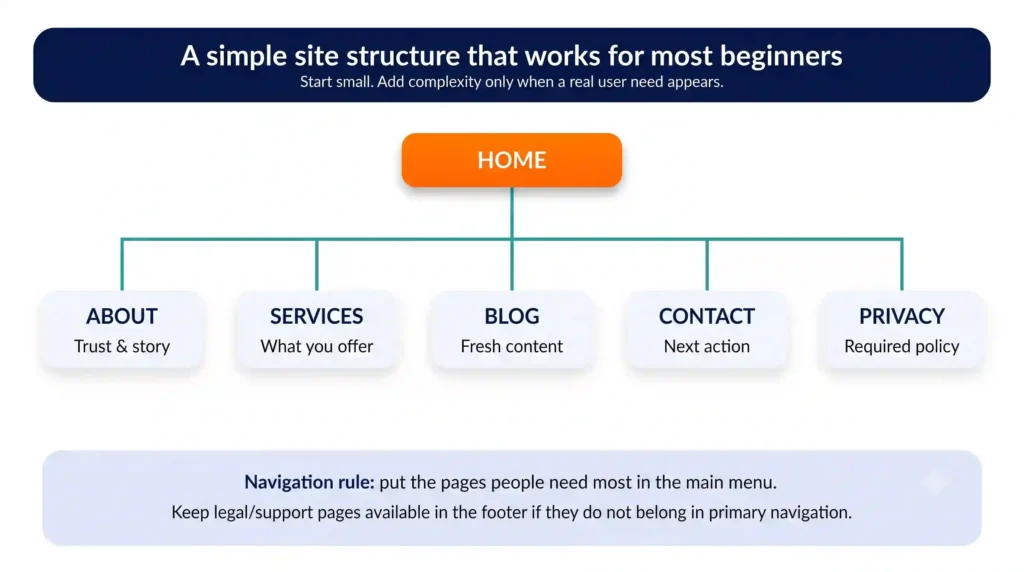
| Page | Purpose | Launch requirement |
| Home | Explain who the site is for and the next action. | Required |
| About | Give context, credibility, and who is behind the site. | Usually |
| Services / Portfolio | Explain the offer or show work. | If relevant |
| Blog | Publish dated articles or updates. | Optional |
| Contact | Give a clear contact or inquiry path. | Required for most businesses |
| Privacy | Explain data/privacy practices appropriate to the site. | Required when applicable |
Do not publish pages that contain only a heading and “coming soon.” If a section is not ready, it is usually better to omit it from navigation until it has enough information to help the visitor.
Expected result Every item in the main navigation opens a complete page with a clear purpose and no placeholder copy.
Step 9: Build navigation around the visitor’s next decision
Use the Navigation block in the Site Editor to build the main menu. Keep the first-level navigation short enough to scan on mobile. Put the most important destination first and keep legal/support links in the footer unless they are part of the main user journey.
The official Navigation block documentation covers creating and editing menus in block themes. After saving, test the menu at desktop and phone widths and confirm the logo/site title returns to Home.
Expected result A visitor can reach the main goal, contact page, and important content without guessing which menu item to use.
Step 10: Add plugins only when they solve a defined problem
Plugins add features, but every extra plugin also adds code, update responsibility, and potential compatibility risk. Install one because you can name the missing function—not because a setup checklist told you to install ten tools.
A sensible order is to add only what your site requires, such as:
- A form solution if the theme/site does not already provide the form workflow you need.
- Backup functionality if the hosting plan does not provide a reliable restore process.
- Security or anti-spam functionality when your site exposes forms, comments, or accounts.
- Caching/performance functionality only when it fits your hosting stack and does not duplicate a host-level cache.
- SEO tooling only if you need help managing titles, sitemaps, or other on-page controls.
Install from Plugins > Add New, review update/compatibility information, then activate and configure one plugin at a time. WordPress’ plugin-management documentation also recommends keeping plugins current; take a current backup before plugin updates.
Troubleshooting rule If the site breaks immediately after activating or updating a plugin, deactivate that plugin first. If you cannot reach wp-admin, use your host’s recovery/file tools or restore the known-good backup.
Step 11: Configure privacy, comments, forms, and basic operational settings
Open Settings > Privacy to create or select a privacy policy page. WordPress provides tools for the page, but the site owner remains responsible for keeping the policy accurate. Your legal obligations depend on what data the site collects and where users are located.
If you do not want public comments, review Settings > Discussion before launch instead of leaving defaults you never intend to moderate. If you use a contact form, submit a real test from another device/email address and verify that the message arrives where expected.
Expected result Privacy and comment behavior match the actual site, and every public form has been tested end to end.
Step 12: Run the launch checklist
Treat launch as a verification pass, not a single Publish button. Check the public site while signed out so you see what visitors and crawlers actually see.
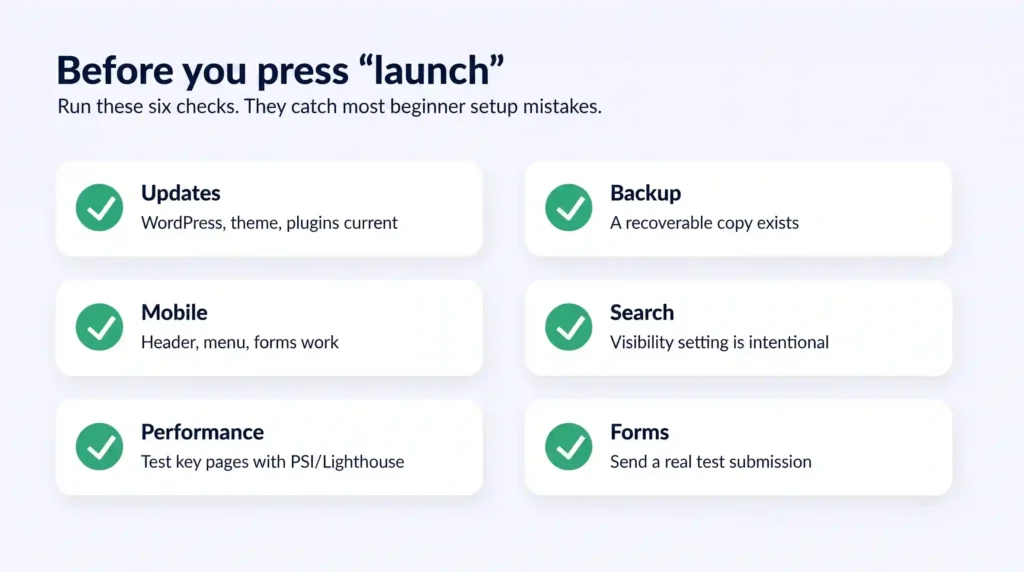
| Check | How to verify | Pass condition |
| Updates | Dashboard > Updates | Core/theme/plugins are intentionally current. |
| Backup | Open the host/backup tool | A recent restore point exists and is locatable. |
| Mobile | Test key pages at phone width | No clipped text, hidden CTA, or unusable menu. |
| Search visibility | Settings > Reading | Indexing is not unintentionally discouraged. |
| HTTPS | Open public URLs | Pages load over HTTPS without browser warnings. |
| Forms | Send a real test | Message/confirmation reaches the expected destination. |
| Site Health | Tools > Site Health | No critical issue remains unexplained. |
| Performance | Run PageSpeed Insights | No major layout/performance defect blocks use. |
Use Tools > Site Health for WordPress’ own configuration checks. For public performance, PageSpeed Insights can surface lab and field data when available. Current Core Web Vitals “good” thresholds are LCP ≤ 2.5 seconds, INP ≤ 200 ms, and CLS ≤ 0.1 at the 75th percentile, but do not delay a useful site merely to chase a perfect synthetic score.
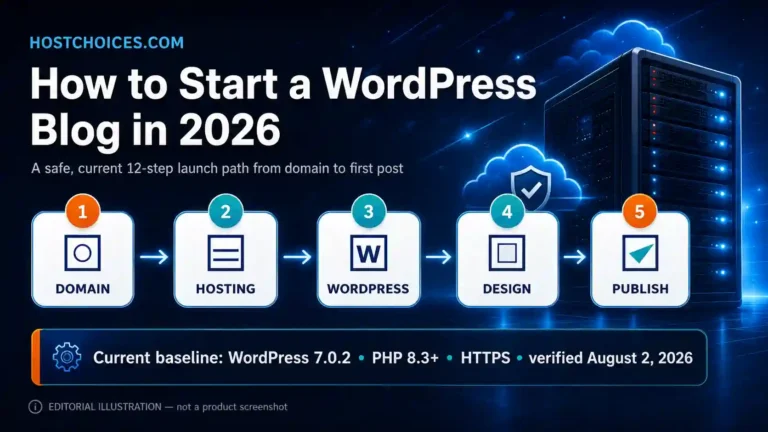
If you want the broader WordPress setup path from idea to publish, continue with how to start a WordPress site.
Common WordPress setup problems and the fastest checks
| Problem | Likely cause | First safe check | Rollback / escalation |
| Error establishing database connection | Wrong DB details or unavailable DB service | Compare database name/user/host in wp-config with host details | Do not guess credentials; use host support or restore known config |
| Appearance > Editor is missing | Active theme is not a block theme | Appearance > Themes; confirm theme type | Switch to a maintained block theme |
| Homepage shows blog posts | Reading setting is not static-home | Settings > Reading | Select Home and optional Posts page |
| Page URLs look wrong or 404 | Permalink/rewrite mismatch | Settings > Permalinks > Save Changes; retest | Restore previous structure on migrations and add redirects |
| Admin email change is pending | Confirmation email not received | Check inbox/spam and entered address | Use documented host/admin recovery path |
| Site breaks after plugin change | Plugin conflict or incompatible update | Deactivate the last changed plugin | Restore backup if deactivation does not recover site |
| Search engines cannot find site | Visibility discouraged or site too new | Settings > Reading; inspect public pages | Re-enable indexing request and allow recrawl time |
Rollback and recovery plan
The safest beginner workflow is to make one meaningful change at a time and keep a restore point from before the change. That makes the failure window small. If an update breaks the site, first identify what changed; deactivate the new plugin, switch back to the previous theme, or restore the backup rather than changing several unrelated settings.
Keep a simple change log with the date, plugin/theme/core version, and what you changed. It is much easier to recover a site when you can answer “what changed immediately before the problem?”
Keep your WordPress build simple
A good first WordPress site is not the one with the most features. It is the one whose core path works: the domain resolves, HTTPS works, the site is current, the navigation is clear, the content answers the visitor’s question, and you can restore the site if a change goes wrong.
Start with the smallest reliable stack. Add a theme you understand, pages you can maintain, and plugins tied to actual requirements. Then improve performance, conversion, content depth, and design based on real visitor needs rather than setup-list anxiety.
Frequently asked questions
Is WordPress free?
The WordPress software is open source and can be downloaded without a software license fee, but a self-hosted WordPress.org site normally still needs a domain and hosting. Managed WordPress.com is a different hosting model with its own plans.
Do I need to know how to code to create a WordPress website?
Not for a normal brochure, blog, portfolio, or small-business site. A maintained block theme plus the Site Editor can handle the core layout without code. Custom development is useful only when your requirements go beyond what the theme and well-chosen plugins provide.
What WordPress version should I install right now?
For this article’s August 4, 2026 check, WordPress 7.0.2 is the current stable security release. Recheck the official release page when you install because WordPress updates can change after this article’s fact-check date.
Should I use WordPress 7.1 beta on a live site?
No. Beta releases are for testing and development. Use the current stable release on production unless you have a specific controlled testing reason.
How many plugins should a new WordPress site use?
There is no correct fixed number. Use the fewest maintained plugins that deliver the functions you actually need, avoid feature duplication, and keep a backup before updates.
Next step
If hosting is the only decision still blocking your build, find the right hosting plan based on your site type and technical needs. Then return to Step 3 and install WordPress before adding optional design or plugin layers.
Version note
Evidence checked August 4, 2026. Core procedural claims in this tutorial are based on current official WordPress documentation. WordPress 7.0.2 is the stable baseline used here. Host-specific setup screens vary, so this article intentionally avoids pretending that one provider dashboard is universal.
Disclosure: HostChoices may earn a commission from qualifying sponsored links when available; affiliate relationships do not influence editorial recommendations.